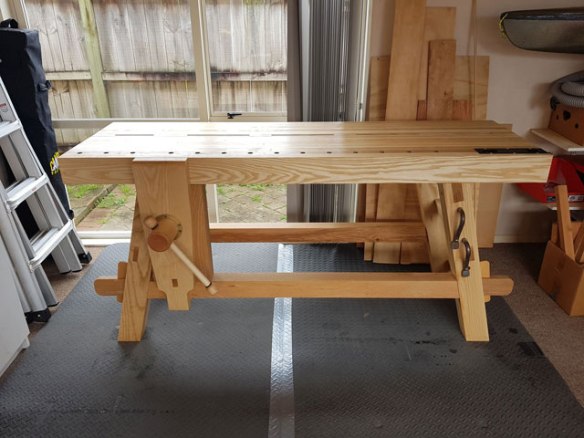
Our latest Lake Erie Toolworks Workbench Idea for November 2017 comes to us from Marcel K. from Auckland, New Zealand. Marcel has built a tremendous Moravian Style Workbench using the Will Myers Moravian build DVD as his inspiration and guide. Kudos to Marcel, as well as to Will Myers and Joshua Farnsworth for helping to make this reality happen.


Hi Nick,
I can’t believe it took me this long to build it but I finally finished my workbench.
Not sure whether it meets the standard of the other awesome workbenches in your blog but I thought I’d fire some pictures and text (below) through to at least show that the vise has eventually been put to use.
And of course let you know my appreciation of your vise screws.
Kind regards,
Marcel K. – Auckland, New Zealand
Details/Comments
When I first saw Will Myer’s WKFineTools article on the portable Moravian design I knew it was a perfect choice for the tight confines of my garage. Basically I wanted something that was solid/heavy yet not too big and could still be relatively easily moved when needed.
The only thing I wanted to change was the tool tray as I preferred having extra bench space so to SketchUp I went and started working on modifying the design to incorporate the Roubo split top idea. After a year of pondering (while building my tool chest) an article appeared on the Lake Erie blog about a great compact version of a “Split Top Moravian” from Ron G in Florida which confirmed my ideas.
While finishing my tool chest I bought Will Myer’s fantastic DVD (“Building the Portable Moravian Workbench”) and watched it repeatedly while acquiring the lumber and letting it dry a bit. After purchasing the Lake Erie Toolworks vise screw I set to work in December last year.
Yes it took me about 10 months of working off and on to complete!
I did nearly all of it by hand (rough-sawn stock dimensioning, joinery etc) and only submitted to power at the end to cut the back slab to final width using a circular saw. By then I thought I’d had enough hand sawing practice!
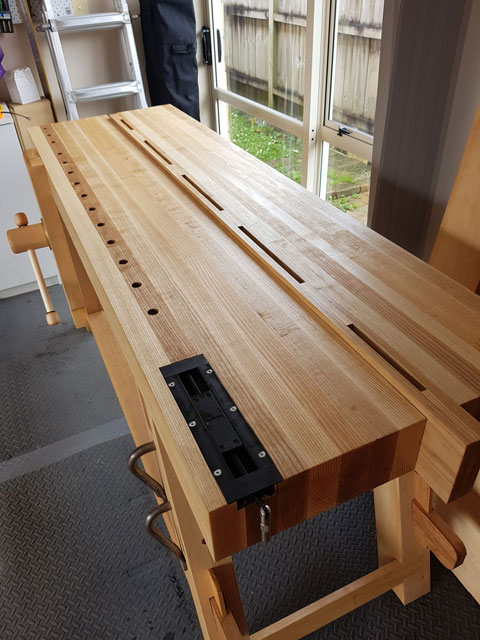
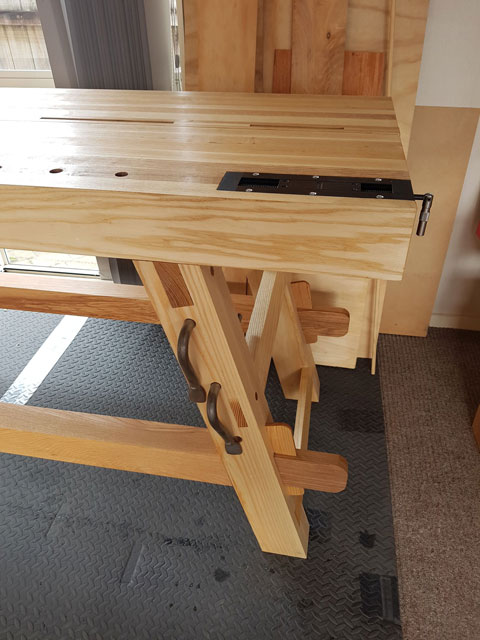
The bench is all white ash apart from the maple Lake Erie vise screw. Even the various dowels were formed from scrap Ash used during the build (hardwood dowel is hard to come by in New Zealand). I went with a Veritas inset vise for the end vise due to its compactness since the design doesn’t have much space at the bench ends to add a vise.
The inset vise works but during the bench build process I frequently used the notched batten method (“Doe’s foot”) to hold boards while planing on a make shift bench and it worked so well I’ve since been wondering whether I even need an end vise. The things you learn…
The overall length and width of the bench matches Will’s plans (76″ x 24”). The top slabs are asymmetrical with the front one about 12.75” wide and the back about 9.5” separated by a 1.75” slotted gap stop. This means that I have the option of building a tool tray like the original plans if I want in the future. It also means that with the gap stop in the raised position I can comfortably hand plane a 12” or so wide board against the stop.
The thickness of the top is 4.25” which is thicker than the original plans (3.5”) and the legs and stretchers are also a bit thicker than the plans so the bench is certainly heavy when assembled. I haven’t weighed it but the front slab alone is at least 40kgs (about 90lbs) so while the bench is technically portable you wouldn’t want to move the front slab too far by yourself!
The bench and vise are finished with Organoil’s Danish oil which is one of my favourite finishes. A straight oil finish that’s easy to apply and doesn’t leave a varnish/film finish and smells pine fresh which is a bonus :-). The top still has a bit of friction which is great when working on it.
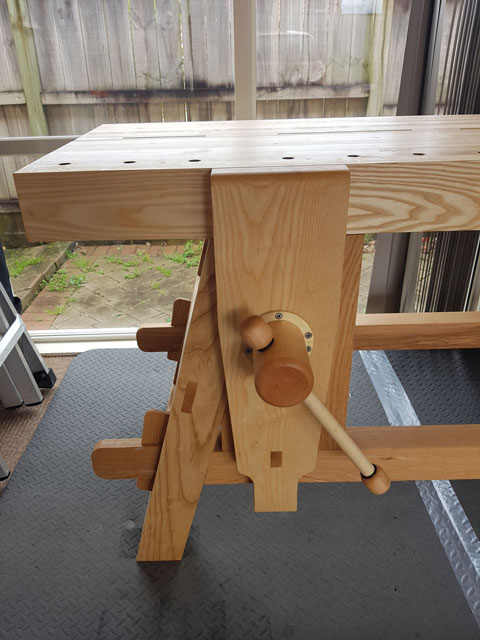
There are still a few details to finish off including boring some more hold-fast holes, adding some cork or leather to the leg vise jaw and adding a loose tongue and groove lower shelf but the bench is up and running and the leg vise works awesome. I was expecting a fair bit of initial “squeakiness” before wearing it in but the Danish oil and paste wax on the screw threads have it running smoothly already.
Apologies for the quality of the pictures but they give you an idea of how small my workspace is. Basically the workbench and my tool chest sit on some rubber mats about 8’x8′ in size and that’s my entire workspace. Also shown in the pictures is the gap stop in the raised position and the vise screw. If a project I’m working on needs more space I can temporarily move the car out of the garage, partially disassemble the bench tops, rotate it 90º and reassemble to give me extra room on both sides of the bench.
This project was a fun challenge and while there’s a few mistakes, it was a great learning exercise for a novice like me. Perhaps the biggest lesson learned though is that next time I should consider buying a portable thicknesser! Jointing 20+ large lengths of timber by hand is enjoyable, thicknessing them not so much 🙂
Big thanks to Lake Erie for making such wonderful vise screws. When it arrived I wasn’t sure whether to use it or put it on the shelf as a work of art it looked so amazing.
Big thanks as well to Will Myers (and Joshua Farnsworth) for creating the workbench DVD which I highly recommend and also to Will for taking time to answer some queries I had on the design.
