Our latest Lake Erie Toolworks Worbench Idea comes to us from Michael H. who hails from the town of Westford in the Green Mountain State of Vermont. Michael has built a multi-functional dream of a workbench that serves as a workbench, router table, saw out-feed table, layout, assembly and edge joining table. Now try saying that again three times real fast. She’s a beauty and we know you’ll all appreciate this latest Workbench Idea.


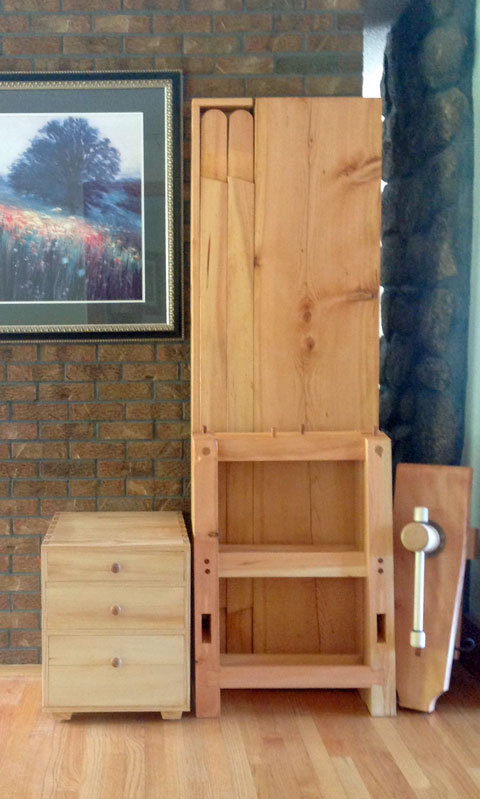
This project started with the purchase of a new SawStop Table saw and when I discovered my very old outfeed table was the wrong height and the miter guides were the wrong width. I wanted something much sturdier than my old table; I wanted to make better use of the space beneath the table (cabinet to follow), and I wanted a leg vice to compliment the shoulder and end vice on my 35+ year old (and also needing to be replaced) workbench.
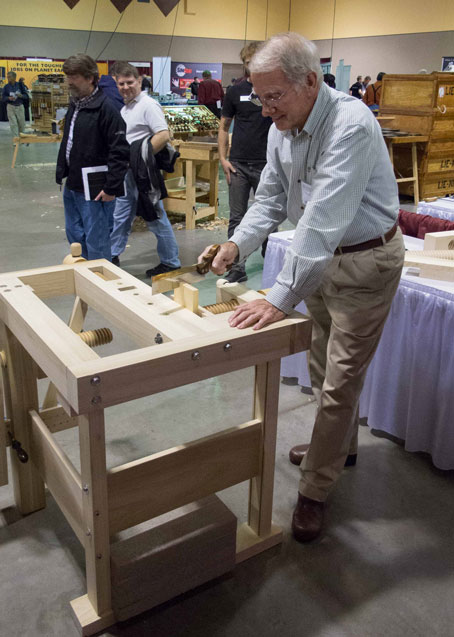
A lot of my work is frame and panel so I am often ripping rails & stiles and wanting to re-joint between passes on the table saw. I reasoned that I could throw a board into a leg vice and run a jack plane over it faster than I could go to the dust collector, open and close blast gates, go to the jointer, run the piece and then retrace my steps.
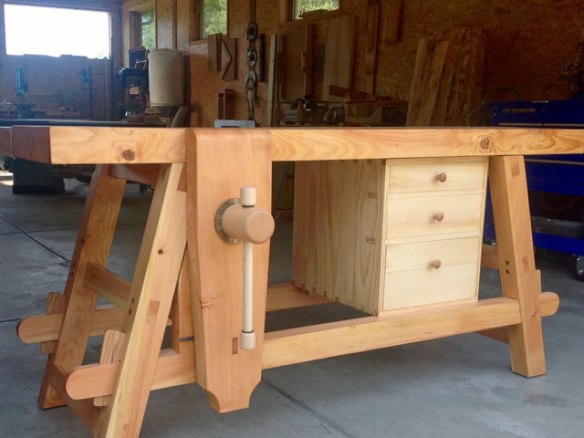
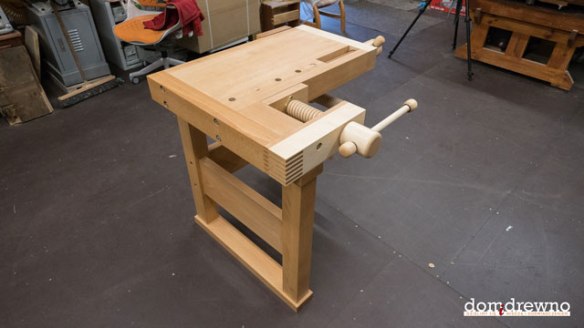
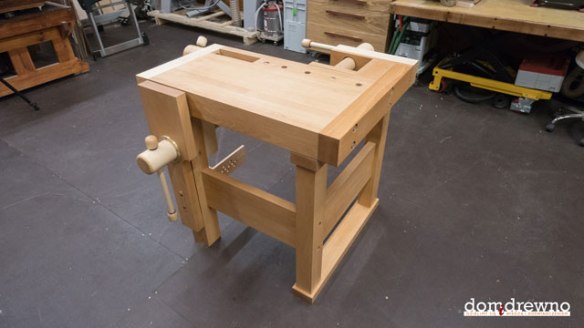
So, I thought, while I’m at it why not build in a new, more versatile, better dust collecting router set up. So now I have this bench – an outfeed table, an assembly table, and edge jointing table, and super-duper router set-up. The design started with the Benchcraftted Classic bench design. I made it 4” wider, spread the legs to accommodate the router and eventual storage cabinet. Then I added a bridge piece between the bench and the saw to span across the bottom dust collection hose and give myself 48” behind the saw blade.
The bench is made almost entirely from 8/4 poplar. After I got the top together I discovered I had managed to turn the thing around and had framed in the router opening on the wrong end (mistake #1), so I ripped it apart and re-glued it, but in my haste lost control of the process and had no way to flatten it (mistake #2) so I ripped it apart and re-glued it, again. Three times a charm, except then it wasn’t as wide as I wanted and I was out of poplar. I found a piece of cherry that had been living in my shop for a long, long time and it became eye candy trim. The bench plans called for cutting the mortises in the top and then fitting the base to it. This required getting all 12 mortise & tenon joints in three dimensions all to come together at once. I was amazed when it happened! In a do over I’d build the base and then transfer markings to the top. I also took the directions to make the holes in the leg & chop 2 9/16″ too literally. This left only 1/32” of clearance on the radius and made the installation quite demanding. In a do over I’d go to 2 3/4. I haven’t yet figured out where I want the holes in the deadman, so haven’t drilled them.
Unlike a “real” work bench I wanted this to be slippery, so I finished it with three coats of good tung oil and then waxed it. I only leather lined the chop, not the leg. The casters are from Woodcraft and settle onto a firm base. They provide leveling and easily screw up to a wheel when movement is necessary.
Thanks for reading. Michael H. – Westford, VT